Peoplesoft Auto Numbering
Posted on Friday 20 November 2009, 12:02 - Peoplesoft - Permalink Tweet
- Article
- |
- Comments(0)
- |
- Attachments(0)
Peoplesoft Auto numbering allow to manage a counter for a specific ID. This definition allows to describe ID's size, beginning Segment and eventually diffrent parameter depending on SETID (like Order, Receipt, RMA ID's).
This post describes the diffrerent steps to :
- Create a new Peoplesoft page & component, place it in a menu's folder an register in portal.
- Setup Autonumbering on this new page's data.
1- Setup application designer
We will setup auto add new and modified objects to the current project. This is a very important thing to do when you make changes to PeopleSoft objects so that you will never forget anything ;when migrate your project to another environment.In application designer; go in Tools -> Options menu.
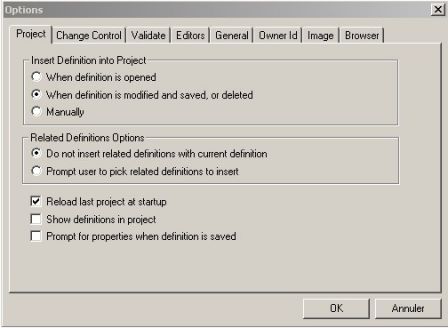
2- Create the new field that will be used as an ID
This new Field MY_FIELD_ID will contain the generated ID. Set a comfortable size (10 to 20 CHARS Upper) and save it.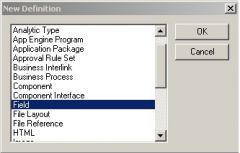
3- Create the Record witch will contain ID and related data
In Peoplesoft, Records are just Tables (or view). When you come from the Relational Database univers, It is quite confusing at the beginning, but each Editor has his own Language...Create a new record for storing your ID and data.
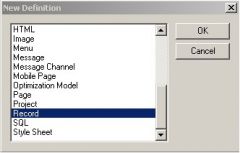
Add you new Field as ID & Key, with some attached data.I you do not plan to use The Business Unit Key, you can keep only the Autonum Field as a Key.

4- Set record Group
Record Groups allow to link Each SETIDs with one Business Units, depending on Record, by using record groups.This step is needed for auto numbering to work well, except if you prefer to "hard code" Directly the SETID in autonumbering function as described in the peoplecode exemple at the end of this post.
Create record group (or take an existing one)
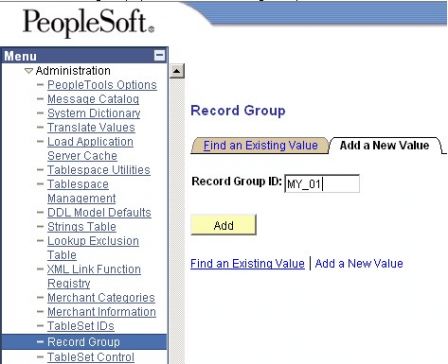
Add your record(s)
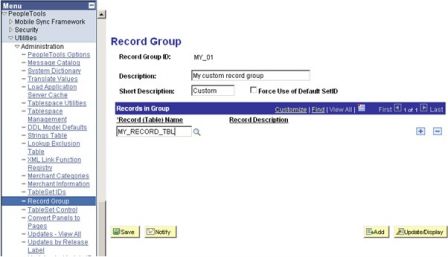
Update Set Control Group (in this example, we use only the SHARE SETID)
UPDATE
PS_SET_CNTRL_GROUP
SET
SETID = 'SHARE' // or your SETID
FROM
PS_SET_CNTRL_GROUP
WHERE
REC_GROUP_ID = 'MY_01' // You Record Group
UPDATE
PS_SET_CNTRL_REC
SET
SETID = 'SHARE' // or your SETID
FROM
PS_SET_CNTRL_REC
WHERE
REC_GROUP_ID = 'MY_01' // You Record Group
5- Create one page to add/display data
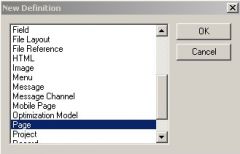
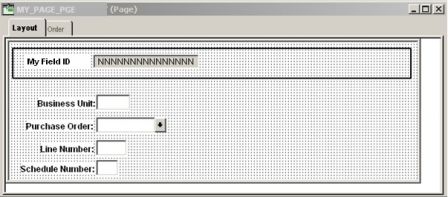
Add You fields on the page & Save.
6- create the component witch contains the page
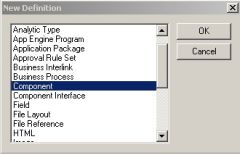
Set Component's Properties
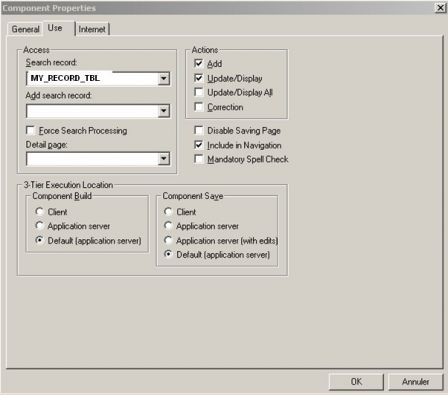
Add your page(s) in it and set an Item Label as it will appear as the title of your page in tab.

7- Create the menu & Portal Folder witch contains the component
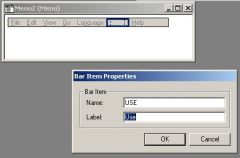
If you don't already have an available menu, create a menu and Bar Item.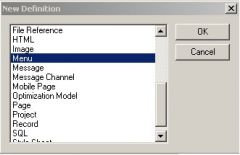

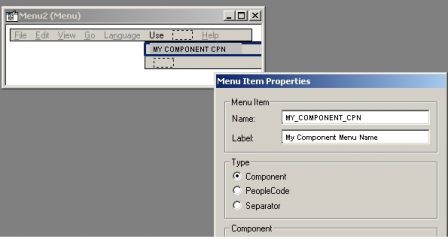
Deploy the components tab in the project View & Drag the component to the menu

Change Menu Item Label. This label will appear as the menu entry text in the portal. Save.
Now we need In PIA, navigate to Peopletools -> Portal -> Structure & content.
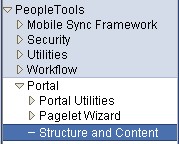
Navigate as needed and select the add folder link, write name (Keep it Simple) and description then save.

Add the new folder to the Project (Think about Migration)
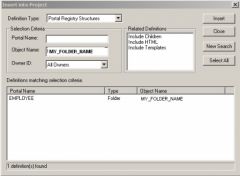
8- Register the component in the portal
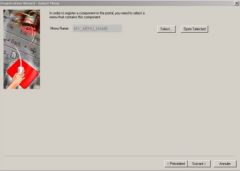
This operation will create a content reference in the portal, to the component we have created, so that it is available in the portal.Open your component in Application Designer and click on register component wizard button.


Select the menu you have created, as it contains our new component.
Select the Folder name you created, set a label and description. Default Content reference name is OK.
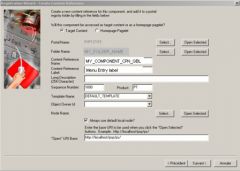
Then check your parameters and validate.
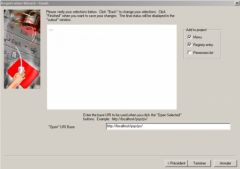
Now your content reference is created and available in the portal. You can checkit in the menu folder you specified.
9- Setup the standard auto numbering Type and ID
Two tables will be populated:SELECT * FROM PS_AUTO_NUMFLD_TBL
SELECT * FROM PS_AUTO_NUM_TBL
Create a new translate value on NUM_TYPE Field for use in AUTO_NUMFLD_TBL. we will use this translate value when we will create the a new Auto Numbering number Type in the portal.

Add the new Auto numbering Entry
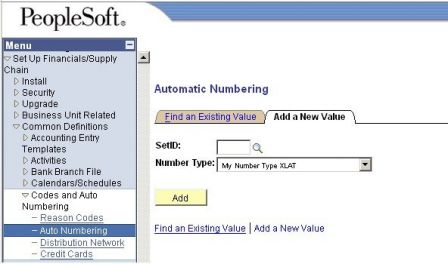
Create this definition for each SETID you need.

10- Write Peoplecode to manage the auto numbering on our ID
1- RECORDNAME.AUTONUMFIELD.Searchinit
If %Mode = "A" Then
MY_RECORD_TBL.MY_FIELD_ID.Value = "NEXT";
MY_RECORD_TBL.MY_FIELD_ID.Enabled = False;
End-If;
2- Create a Sequence Record View
Create a new record (view) with following structure and SQL code. This view will be called by the function AutoNumberCommit in next step.
SELECT A.SETID
, A.BEG_SEQ
, A.DESCR
FROM PS_AUTO_NUM_TBL A
WHERE A.NUM_TYPE='XXXX'
3- RECORDNAME.AUTONUMFIELD.Save PreChange
Declare Function AutoNumberCommit PeopleCode FUNCLIB_ORDENT.ORDER_NO FieldFormula;
REM Function AutoNumberCommit(&setidStr, &businessUnitStr, &recNameStr, &numTypeStr, &begSeqStr, &zeroPadB, &finalNbrStr) Returns boolean;
If Not (RecordDeleted(MY_RECORD_TBL.MY_FIELD_ID)) Then
If MY_RECORD_TBL.MY_FIELD_ID.Value = "NEXT" Then
&NUMBER_TYPE = "XXXX";
&ZERO_PAD = "Y";
&USERID = %UserId;
&BEG_SEQ = "BEG";
&RECORD_GROUP = Record.PH_KANBAN_AN_VW;
AutoNumberCommit(" ", MY_RECORD_TBL.BUSINESS_UNIT, &RECORD_GROUP, &NUMBER_TYPE, &BEG_SEQ, &ZERO_PAD, &FINAL_NUM);
//You can also set directly the SETID if you prefer.
//&continue = AutoNumberCommit("SHARE", " ", &RECORD_GROUP, &NUMBER_TYPE, &BEG_SEQ, &ZERO_PAD, &FINAL_NUM);
MY_RECORD_TBL.MY_FIELD_ID.Value = &FINAL_NUM;
End-If;
End-If;
11- Test onscreen
Now you should be able to test your screen by adding new value.
Saving your page will call the SavePreChange peoplecode containing AutoNumberCommit function and save your data with resulting ID.


